
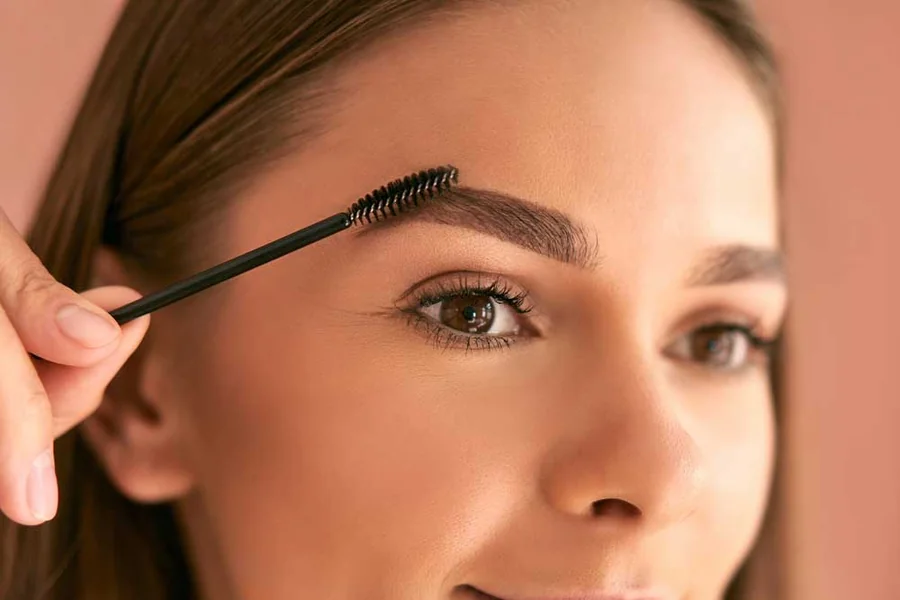
A microblading appointment follows a clear sequence, beginning with a consultation and ending with detailed aftercare instructions. The technician reviews the client’s brow shape, discusses the desired result, and selects a pigment suited to the client’s features.
Brow mapping takes place before any blade touches the skin, helping create balanced eyebrows. Knowing each stage helps clients arrive prepared and understand why the process requires patience, precision, and a later touch-up.
The Consultation Comes First
The appointment starts with a discussion about brow density, shape, color, and makeup habits. The technician reviews the client’s goals and explains how microblading creates fine, hair-like strokes in the upper layers of the skin.
Clients considering microblading in Brooklyn often want fuller brows without filling them in each morning. The technique works well for sparse areas because individual strokes fill visible gaps while preserving a natural texture. A consultation also allows the technician to assess the existing brow shape, answer questions, and explain healing before treatment begins.
Brow Mapping Sets the Shape
Brow mapping establishes the position, length, arch, and thickness of each eyebrow. The technician takes facial measurements to create a balanced outline that suits the client’s bone structure and existing brow hair.
The technician reviews the mapped shape before applying pigment. Clients should examine the outline from different angles and raise concerns during this stage. Once the skin has been bladed, changing the planned shape becomes much more difficult.
Color selection follows the mapping process. The technician matches the pigment to the client’s natural hair color and skin tone, helping each stroke blend with the surrounding brows.
Numbing and Pigment Application
After the client approves the shape and color, the technician applies a topical numbing cream to the brow area. The cream remains on the skin for a short period before microblading begins.
The technician then uses a fine blade to place pigment into the upper skin layers. Each stroke follows the direction of natural brow growth, creating texture instead of a solid, drawn-on appearance.
The microblading stage usually takes one to one and a half hours. Appointment length depends on the planned shape, the amount of work required, and the client’s natural brow density.
What Clients Notice During the Session
Clients typically notice pressure, light scratching, or repeated movement across the brow area during treatment. The technician works gradually, checks both eyebrows, and adjusts the pattern when needed.
The brows often appear darker immediately after the appointment. That initial color does not show the final healed result because the skin goes through a normal recovery process.
A careful appointment includes regular checks for symmetry and stroke placement. The technician should also explain each major step before beginning pigment application.
The First Ten Days Matter
After the appointment, clients must keep their brows dry for the first ten days. They should avoid direct sun exposure and keep makeup away from the treated area until healing is complete.
Peeling and initial fading are normal during this period. The brows can look uneven while the skin heals, but the color settles as the surface recovers.
Clients should follow the technician’s written aftercare instructions and avoid picking at peeling skin. Removing flakes too soon can affect pigment retention and interrupt the appearance of individual strokes.
Why a Touch-Up is Scheduled
A touch-up usually takes place six to eight weeks after the initial appointment. By then, the skin has healed, and the technician can assess how much pigment remains in each area.
The follow-up visit allows the technician to refine the shape and fill sections where pigment did not retain as expected. Skin heals differently for each person, so the touch-up helps create a more even final result.
Microblading is semi-permanent rather than permanent. Results commonly last 12 to 18 months, with longevity affected by skin type, lifestyle, sun exposure, and aftercare.
Conclusion
A microblading appointment includes consultation, facial mapping, color matching, numbing, careful stroke placement, healing, and a later touch-up. Clients can prepare by arriving with clear goals, reviewing the mapped shape carefully, and planning ten days without brow makeup or direct sun exposure.
The next practical step is to schedule a consultation and ask how the technician will approach the shape, color, healing period, and follow-up care.