
Have you ever looked at a photo and wondered how people seamlessly swap faces or replace one face with another? Whether it’s for fun, a creative project, or a professional edit, changing a face in a photo is easier than you might think. Thanks to modern tools and apps, even beginners can achieve impressive results. In this guide, I’ll walk you through the basics of face swap and provide tips to make your edits look natural and polished.
Why Change Faces in Photos?
Face-swapping has become a popular trend for many reasons:
- For Fun: Create hilarious memes or swap faces with your favorite celebrity.
- Creative Projects: Use face-swapping for artistic purposes or storytelling.
- Professional Use: Replace a subject’s face in marketing materials or fix group photos where someone blinks.
No matter your reason, the process can be both enjoyable and rewarding!
Tools You’ll Need
Before diving in, you’ll need the right tools. Here are some popular options:
- Mobile Apps
FaceApp: A user-friendly app for quick face-swapping.
Reface: Great for swapping faces in videos or GIFs.
Snapchat or Instagram Filters: These apps often have built-in face-swap features for instant results.
- Desktop Software
Adobe Photoshop: The gold standard for professional photo editing.
GIMP: A free alternative to Photoshop with powerful editing tools.
- Online Tools
Websites like Vidqu.ai or Photopea allow you to swap faces directly in your browser without downloading software.
Choose the tool that best suits your skill level and the complexity of your project.
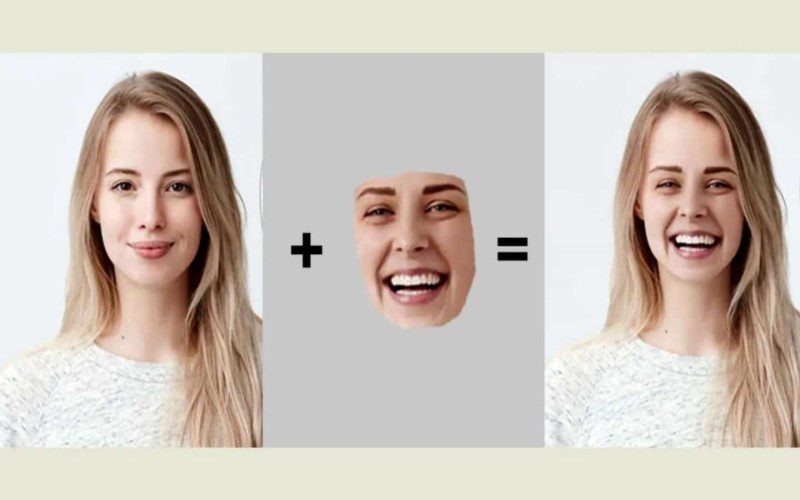
Step-by-Step Guide to Changing Faces
Let’s break it down into simple steps:
- Select Your Photos
Choose two photos: one with the face you want to use and another where you’ll place it. For best results, pick images with similar lighting, angles, and resolution.
- Open the Editing Tool
If you’re using a tool, upload both images. For an AI online tool like Vidqu AI https://www.vidqu.ai/face-swap.html, open both photos as separate layers.
- Cut Out the Face
Use a selection tool (like the lasso tool in Photoshop) to outline the face you want to copy. Make sure to include key features like the eyes, nose, and mouth while avoiding unnecessary background.
- Paste and Position
Paste the cut-out face onto the second photo. Resize and rotate it to align with the original face’s position. Pay attention to proportions!
- Blend the Edges
Use blending tools (like feathering or erasing) to soften the edges of the pasted face. Adjust the colors, brightness, and contrast to match the original photo’s tones.
- Fine-Tune Details
If needed, use tools like clone stamps or brushes to clean up imperfections. Zoom in to ensure everything looks seamless.
- Save Your Work
Once you’re satisfied, save your edited photo in high resolution.
Pro Tips for Natural-Looking Edits
- Match Skin Tones: Use color correction tools to ensure the skin tones of the swapped face blend naturally with the body.
- Pay Attention to Shadows: Add or adjust shadows to make the face look like it belongs in the photo.
- Practice Makes Perfect: Don’t worry if your first attempt isn’t flawless—editing is a skill that improves with practice!
Face-Swapping Etiquette
While face-swapping can be fun, it’s important to use it responsibly.
- Always get permission before editing someone else’s photo.
- Avoid using face-swapping for malicious or deceptive purposes.
- Be mindful of cultural sensibilities and privacy concerns.
Final Thoughts
Changing faces in photos is a fantastic way to unleash your creativity and have some fun. With so many tools available today, anyone can master this skill with a little practice. Whether you’re creating funny memes or working on a professional project, remember to enjoy the process and experiment with different techniques.
So, grab your favorite editing tool and give face-swapping a try—you might just surprise yourself with what you can create!

