
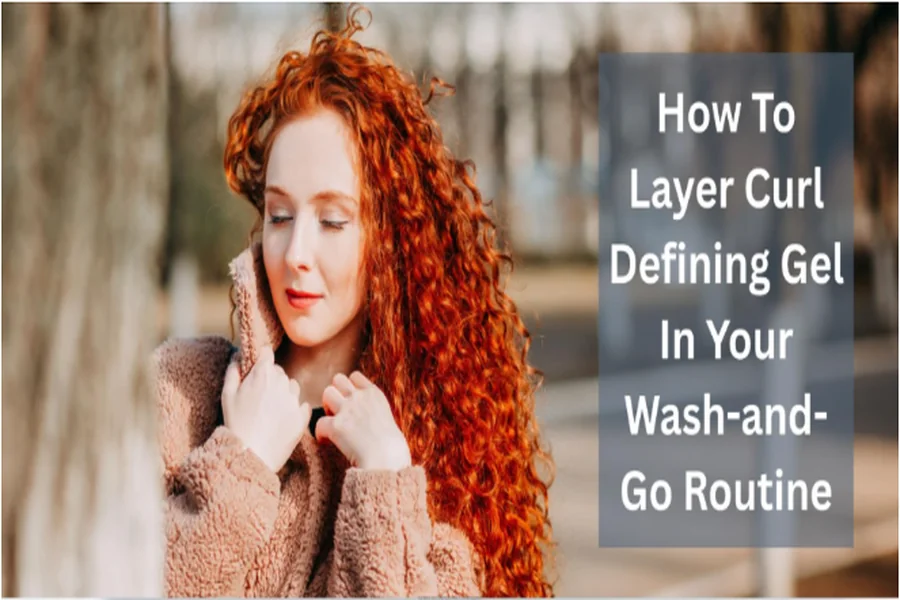
The first step to having luscious, bouncy curls is to know how to layer appropriately. Frizz, rough curls, or product buildup are common concerns for many curl enthusiasts; however, with well-planned layering, you can change your wash-and-go routine.
It starts with clean, moist hair. When hair is hydrated, it does not become rigid and can maintain its curls. The appropriate products enhance curl pattern, shine, and longevity. Layering is also a good way to avoid crunchiness and keep your hair flowy, so it moves naturally.
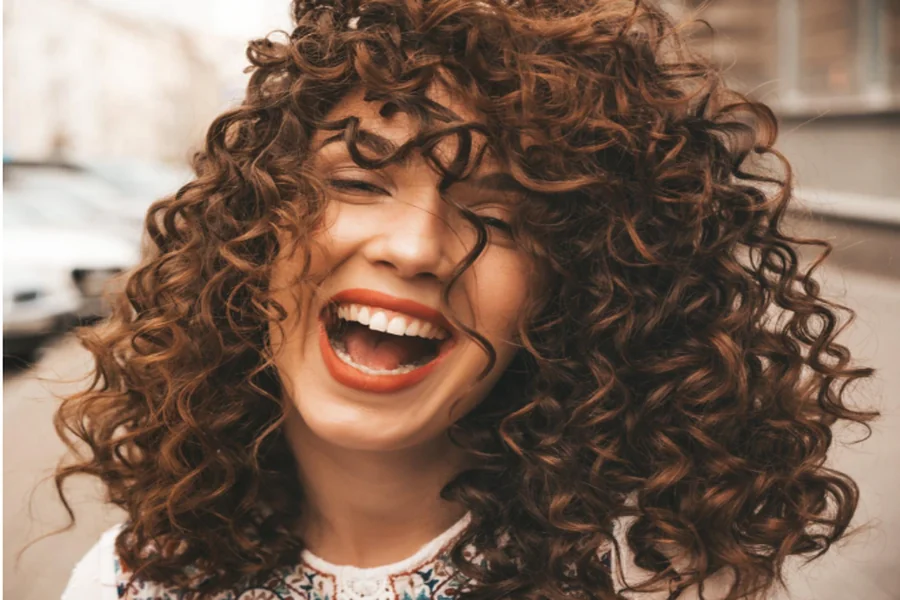
The correct layering technique will not only make your curls appear polished but also help them feel nourished, and with such an approach, every styling session will be a simple, enjoyable, and rewarding aspect of your routine.
With a step-by-step routine and the right products for your hair, you can achieve a sleek appearance. By doing this, your curls will be soft, well-shaped, and frizz-free all day, making your wash-and-go a manageable, enjoyable routine.
1. Begin With Clean and Moisturized Hair
To achieve maximum curl definition, hair must be clean. Wash your hair using a mild cleanser to get rid of dirt, oil, and product residue, and have it ready to be styled. Apply a lightweight, hydrating leave-in conditioner to the hair, which penetrates the locks, making them soft and moist.
Next comes the curl defining gel, which should ideally be applied to wet hair to prevent clumping or patchy coverage. This is the point at which hair can be sectioned to make the application smoother and more precise, so that each part of your hair can be tackled separately, and that every single strand has the opportunity to be moisturized and prepared.
2. Use Curl Defining Gel in Strategic Places
It is important to use a small amount of curl-defining gel when layering. Use it all the way down to the roots and up to the ends, and give yourself an extra treat by applying it to those areas where frizzing or definition is a problem.
Rake the gel through each section gently with your fingers or a wide-tooth comb, making sure all strands are covered but the hair is not weighed down. Curl shape and texture are more easily controlled through gradual layering.
Application of too much may cause stiffening, and it is best to add more in light layers rather than apply a lot at once. The technique will help keep it flexible and provide your curls with quality permanence.
3. Improve Curl Pattern Through Styling Methods

Styling can enhance curl definition after gel application. Scrunching promotes the formation of natural curls and finger-coiling structures and increases the uniformity of individual curls. It is better to work on damp hair because, with slightly wet hair, the gel will be absorbed and shape the curls.
As the gel dries, it forms a mold around the curls, which later softens as the hair dries, giving it a natural bounce. Using soft, manageable movements at this phase helps prevent frizz and create a defined curl pattern that lasts all day.
You can also test various section sizes to discover the way your curls react to shaping methods. Smaller sections usually form tighter and more defined curls, and larger parts form a looser pattern.
This flexibility can be molded to fit your appearance in any way you desire by changing the volume or curl pattern. Eventually, this minor modification turns into a convenient means of making your styling outcomes more precise without using additional items.
4. Carefully Drying Hair to Save Layers
Drying is a crucial step in preserving curls. Air drying is the best way to preserve the natural curl shape; however, when in a hurry, use a diffuser on a low heat setting and lift the roots to create more volume. It is important not to over-touch or rub your hair while drying, as this can break apart the curls and create frizz.
The layered gel works its wonder in this process to support the curl structure and give a specific finish. The right drying method means your curls will be soft, bouncy, and well-shaped, without any undue stiffness or crunchiness.
5. Light Touch-ups and Maintenance

When your hair is completely dry, squeeze out the gel cast to finish with even more supple curls. A little light oil or serum will add shine and soften the remaining stiffness. On non-wash days, refresh curls by rinsing them through with water and reactivating the layers of gel.
Regularly applying layers to your daily regimen will maintain your curl pattern, reduce frizz, and make your wash-and-go last longer. This routine will keep your natural texture healthy and controllable, and ensure your daily styling process is easy and successful.
Bringing It All Together
Balancing and technique are everything when layering curl-defining gel into your wash-and-go routine. Beginning with clean, damp hair, using products carefully and with a gentle touch, and using styling tricks are the keys to defined, soft, and frizz-free curls.
Drying and proper maintenance will ensure that your curls are not stiff and maintain their shape throughout the day. These steps will help you to make your wash-and-go more manageable, bringing out your natural curl pattern, increasing its health, and appearance.
Consistency is very important when applying a curl-defining gel to your wash-and-go routine. It is also useful to adjust the quantity of gel with changes in season or humidity, as environmental factors influence the nature of your curls.

