
An app is useful when you are away from home. It lets you check the porch from work or skim a clip after a delivery. Security cameras with a monitor answer a different question. What do you do when you are already inside and need to see the property without unlocking a phone, waiting for a feed, or chasing push alerts?
The sections below compare local screens with app-only habits, where to put a display, how recorders store video, multi-camera grids, HDMI to a TV, and whether to buy everything together or one piece at a time.
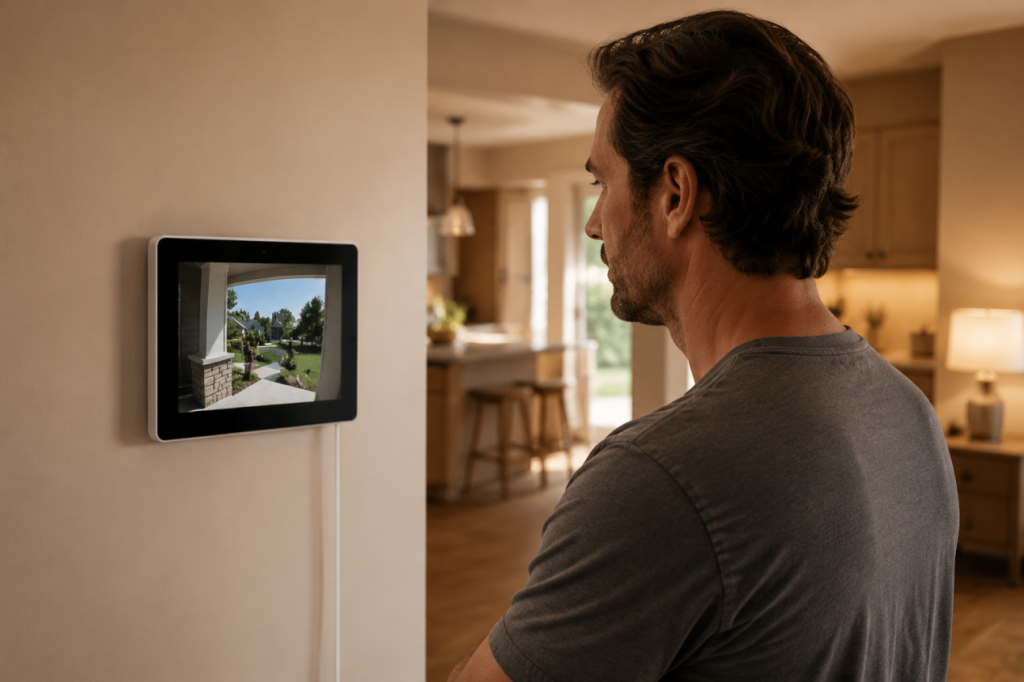
A man in a home checks a wall security camera monitor showing the porch feed.
Table of Contents
- Local monitor viewing versus app-only habits
- Where to place the screen at home or work
- Recorder storage and what the display shows
- Multi-camera grids and HDMI to a TV
- Matched kit versus buying in steps
- Conclusion
Local monitor viewing versus app-only habits
Phone apps are built for short checks. Open the app, tap one camera, review a clip, and close it. That fits remote questions. Did the package arrive? Is the gate closed?
App-only viewing falls short when you want passive awareness for hours. Phones sleep, dim, overheat, and close background streams. Alerts also train people to ignore motion from cars, pets, and branches until real events feel like noise.
A dedicated monitor can stay on the job without competing with messages or navigation. A security camera system with a monitor included gives you a screen already assigned to cameras, so you skip the unlock-and-wait routine when something bumps outside at night.
Network behavior is the other split. Remote app viewing usually needs a working internet connection at home and on the phone. If the router reboots or upload bandwidth is maxed out, live view can stall even when cameras are still recording locally. A local display tied to a hub, NVR, or recorder on the same network often keeps live tiles visible while the outbound internet is slow. That is not fully offline in every setup, but it removes one hop through a phone and the public internet for everyday viewing inside the home.
Where to place the screen at home or work
The right spot depends on who needs to see the feed and when. Use the table below to compare common placements, then match the camera layout to what that screen should show.
| Location | Best for | Views to prioritize | Practical note |
| Front desk or reception | Small offices and shops with steady foot traffic | Lobby, entrance, loading door | Staff-shared view; no private zones on screen |
| Security room or back office | Longer shifts, multi-camera grids, playback checks | All public exterior and entry zones | Beside recorder or PoE switch; HDMI-friendly |
| Bedroom nightstand or hallway | Nighttime bumps, porch checks before opening the door | Driveway, front walk, porch | Small dimmable screen; low sleep disruption |
| Kitchen counter or family room | Daytime awareness during cooking, childcare, or package days | Front door, yard, side gate | Small screen is enough; place where you already look |
No single room works for every home. Many setups use a countertop display for daily awareness and HDMI to a TV in a back office when a larger grid is useful.
Recorder storage and what the display shows
The monitor and the archive are related but not the same thing. A bigger screen does not fix weak storage, and a large drive helps little if nobody watches the live grid.
With a hub or NVR that has a built-in drive, cameras send video to the recorder first. A PoE NVR records to an internal drive and shows live or playback through HDMI or the app. A HomeBase-style hub centralizes compatible wireless camera footage. Local storage reduces the need to upload footage to the cloud all day on a busy network.
The display shows live tiles and short playback on the local network, so the feed can stay live when the outbound internet is slow. The drive holds the timeline you scrub after an incident, including the minutes before an alert. Short app clips work for package drops; continuous recording works better for slow events. Cloud can add off-site copies, but many homes keep the drive as the daily archive. Plan capacity from camera count and how many days of history you need on site.
The display shows what is happening now. The recorder holds what happened earlier.
Multi-camera grids and HDMI to a TV
A phone is the wrong canvas for four cameras. Split views on a small screen shrink driveways and side yards into tiles that are hard to read at a glance.
Wireless cameras with screen setups spread those feeds across a dedicated panel instead of a phone. The eufy Smart Display E10 is an indoor 8-inch touchscreen for that role. It shows up to four live feeds at once when paired with compatible eufy cameras and a HomeBase. Event video can be cached on the display or its microSD card (up to 512 GB) for quicker playback without waiting on a remote buffer. Door and camera alerts can also wake the screen with a live view and voice prompt when those devices are on the same system. Expect each tile to use a fraction of the panel resolution. The value is layout awareness, not maximum zoom on every corner at once. It is a portable indoor viewer, not a full NVR replacement, so you still need a recorder and cameras for long-term storage.
For a wall-sized view, security cameras with TV monitor viewing usually run through HDMI from a recorder or NVR when the model supports it. Connect the HDMI port on the hub or NVR to a TV or monitor input, choose the correct source on the TV, and the multi-camera grid can fill a living room, office, or security room display. Short cable runs use a standard HDMI cable. Longer runs between a rack and a front desk may need an active HDMI cable or an extender so the signal stays stable.
A shared living room TV can work if security has its own input and household rules about when that input stays selected. A dedicated screen is still the better fit when the TV is already claimed by streaming or gaming.
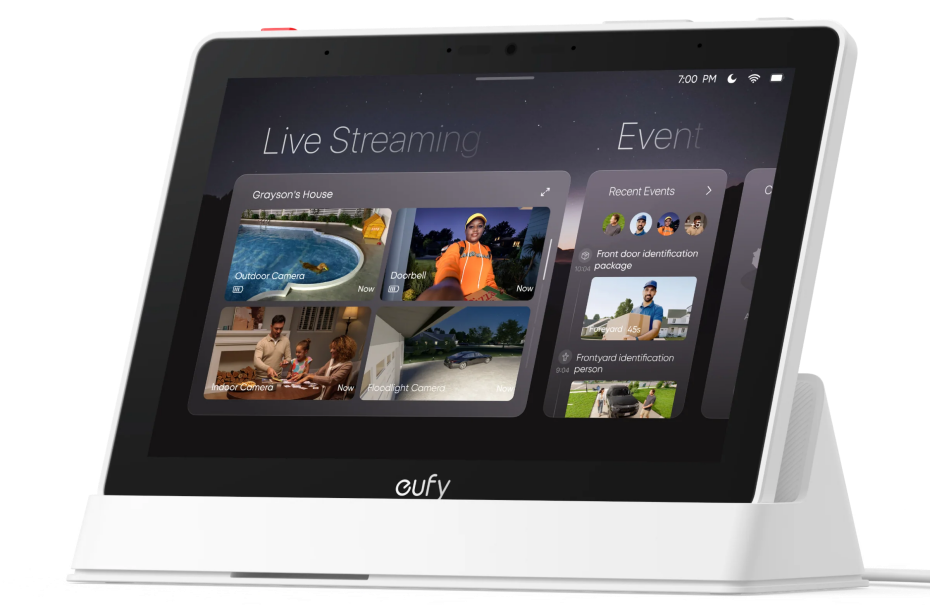
eufy Smart Display E10
Matched kit versus buying in steps
All-in-one bundles can save money when you need every piece at once, such as a display, hub, and multiple cameras. They also lock you into a fixed camera count before you know your blind spots.
Separate purchases take more time upfront, but fit upgrades. You might already own a HomeBase and outdoor cameras and only need a countertop display. You might add an NVR and PoE camera later while keeping phone alerts for travel.
Compare total price, installation labor, and what you would pay to add a second camera in each path. A lower bundle price helps less if you still need another lens for the side yard. A standalone display helps less if you still need a recorder and cameras before anything appears on screen.
After you know your viewing habits, browse the eufy security camera collection to compare cameras, recorders, and storage options without assuming one bundle fits every home.
Conclusion
Apps stay strong for remote check-ins from the road. A security camera with a monitor is stronger when someone inside needs live context now, shared access without sharing passwords, and a grid that stays visible.
Place the screen where the decision happens, tie it to a recorder that matches how you review footage, and use HDMI when a TV or wall monitor should carry the same grid. Whether you buy a matched kit or add a display later, the goal is the same. Turn footage from something you request into something already in front of you.

